How to wear
A salon finish, at home
Everything you need comes in your set. Prep well, pick glue or adhesive tabs, and press each nail firmly into place.
Step one
Prep
Clean, dry, oil-free nails help your set hold.
Step 1: Remove polish or residue
Step 2: Wash and dry your hands
Step 3: Gently push back your cuticles
Step 4: Lightly buff the natural nail
Step 5: Clean with the alcohol prep wipe
Step 6: Make sure your nails are completely clean, dry and oil-free
Step two · Option A
Apply with glue
Work one nail at a time.
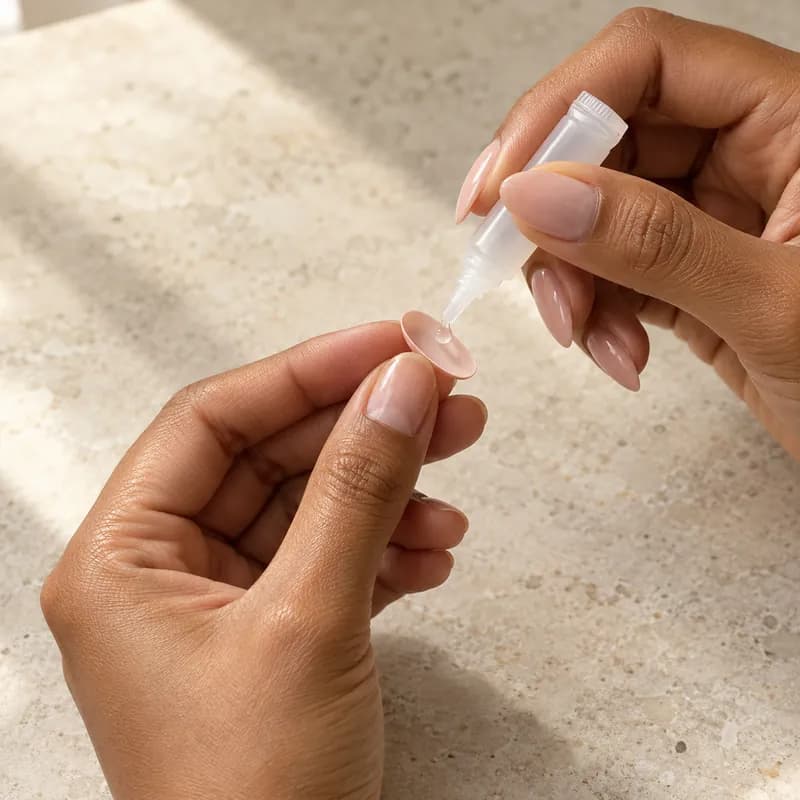
Step 1: Apply a thin layer of glue
Use a thin layer on the natural nail and on the underside of the press-on. Avoid the skin and cuticle.
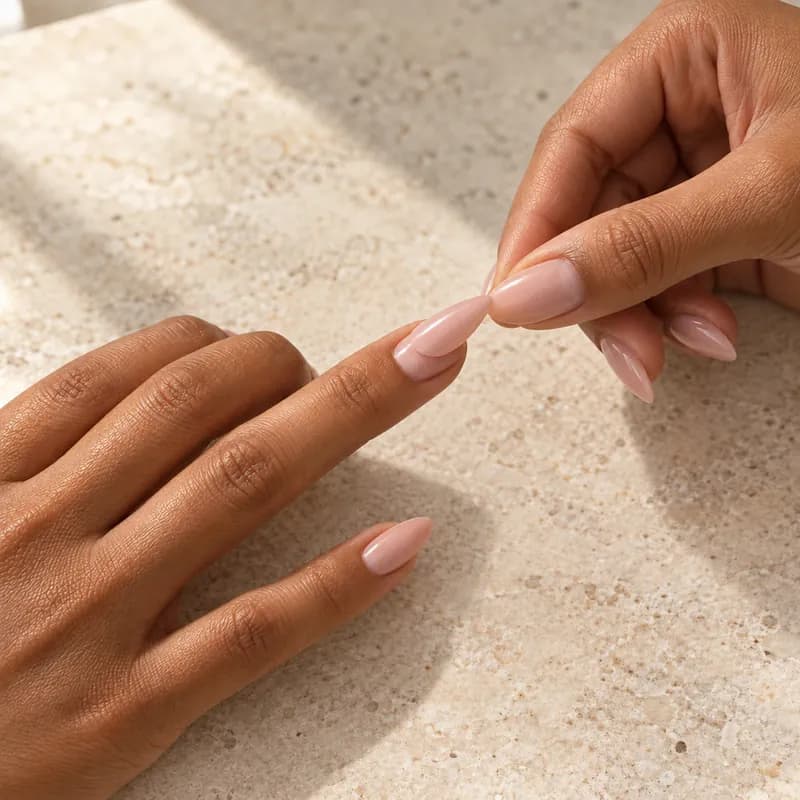
Step 2: Align from the cuticle
Place the base of the press-on at your cuticle first, then lay it down over the nail.
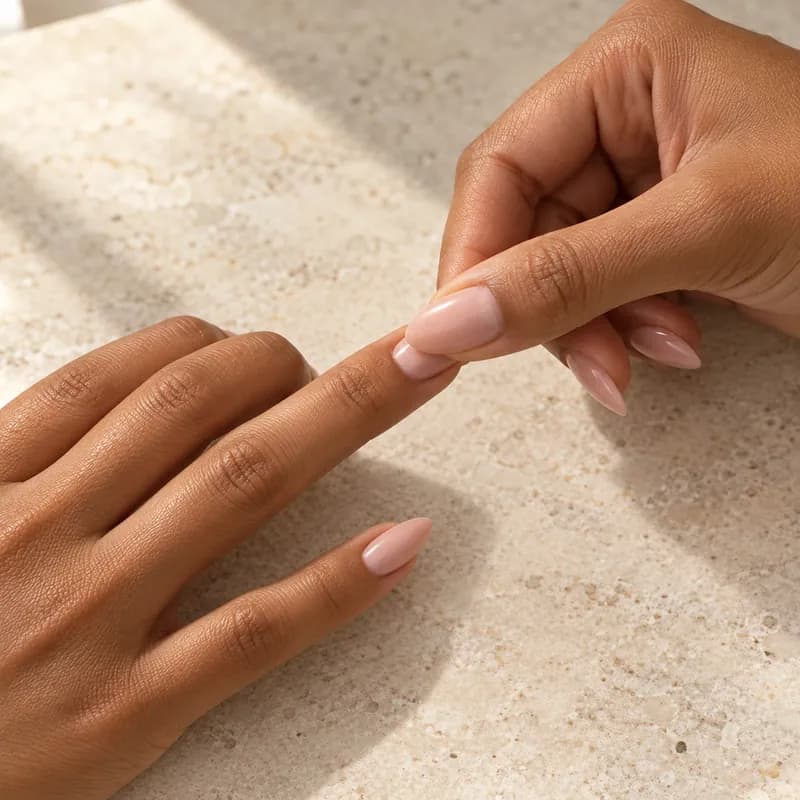
Step 3: Press firmly for 10–20 seconds
Hold even pressure over the whole nail while the glue sets.
Press timer
Time your press
Line up the nail, press firmly, then start the timer.
Step two · Option B
Apply with adhesive tabs
A glue-free option. Both glue and tabs come in every set.
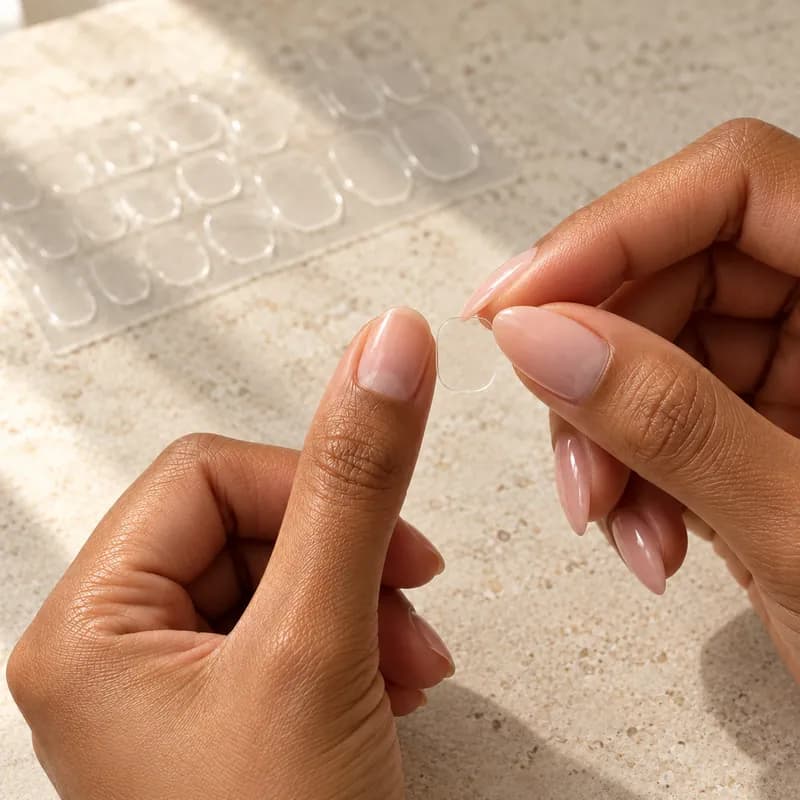
Step 1: Choose the correct tab size
Pick a tab that fits within your natural nail.
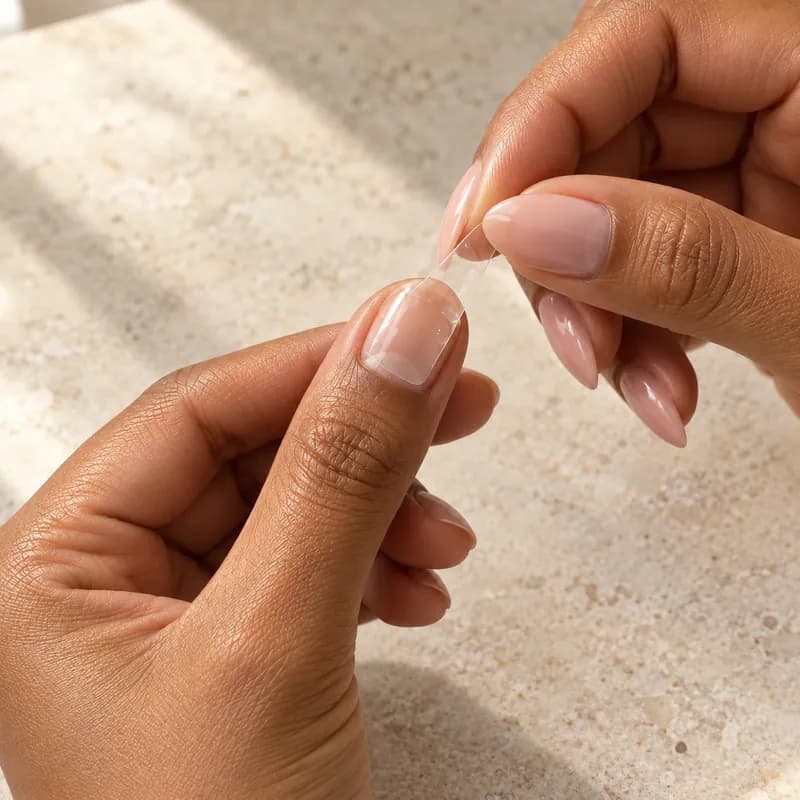
Step 2: Apply, press, peel
Apply the tab to the natural nail, press firmly, then remove the backing.
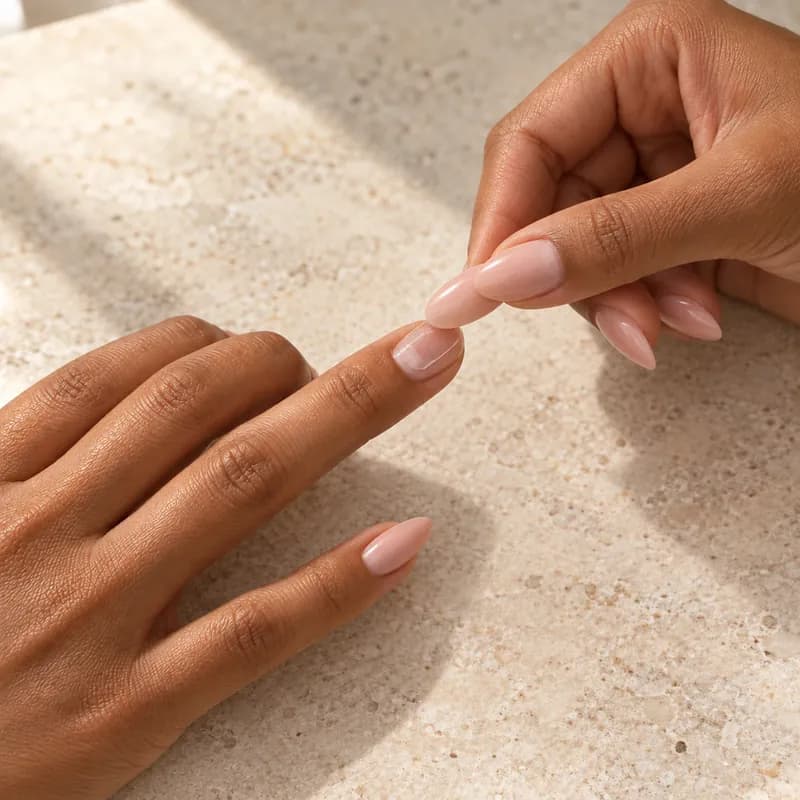
Step 3: Place the press-on and press
Line up the press-on from the cuticle and press firmly to secure.
Get it right
Fit
Before applying, match each press-on to your natural nail. It should cover the natural nail from sidewall to sidewall without sitting on the skin.
Sidewall to sidewall
The right size covers your whole nail, edge to edge, and stops short of the skin.
Slightly too wide? File the sides
Gently file the sides with the Niva file until it fits.
Too small? Don’t force it
Never force an undersized nail. Contact us and we’ll help with the fit.
The first day
After application
No water for 24 hours
Avoid water and soaking for the first 24 hours.
Skip steam, oils and lotions
Avoid excessive steam, oils and lotions around the nails immediately after application.
Before you order
Sizing
Clear nail photos are required with every order. We check them before we make your set.
Measure the widest part
Measure each natural nail across its widest part using the millimetre side of a soft measuring tape.
No tape? Use a bottle cap
Photograph both hands clearly with your nails visible and a water bottle cap beside your hand for scale.
In every set
What’s included
- Niva press-on nails
- Nail glue
- Adhesive tabs
- Nail file
- Buffer
- Cuticle stick
- Alcohol prep wipe
- Application instructions
- Niva nail hardener/top coat
Need help with the fit?
Send us a photo on WhatsApp and we’ll help you get it right, nail by nail.